
Disclaimer: The information provided in this blog is for general informational purposes only and does not constitute legal, tax, or accounting advice. Nothing on this site should be relied upon as a substitute for professional advice from a licensed attorney, CPA, or financial advisor. Please consult a qualified professional before making any financial or legal decisions.
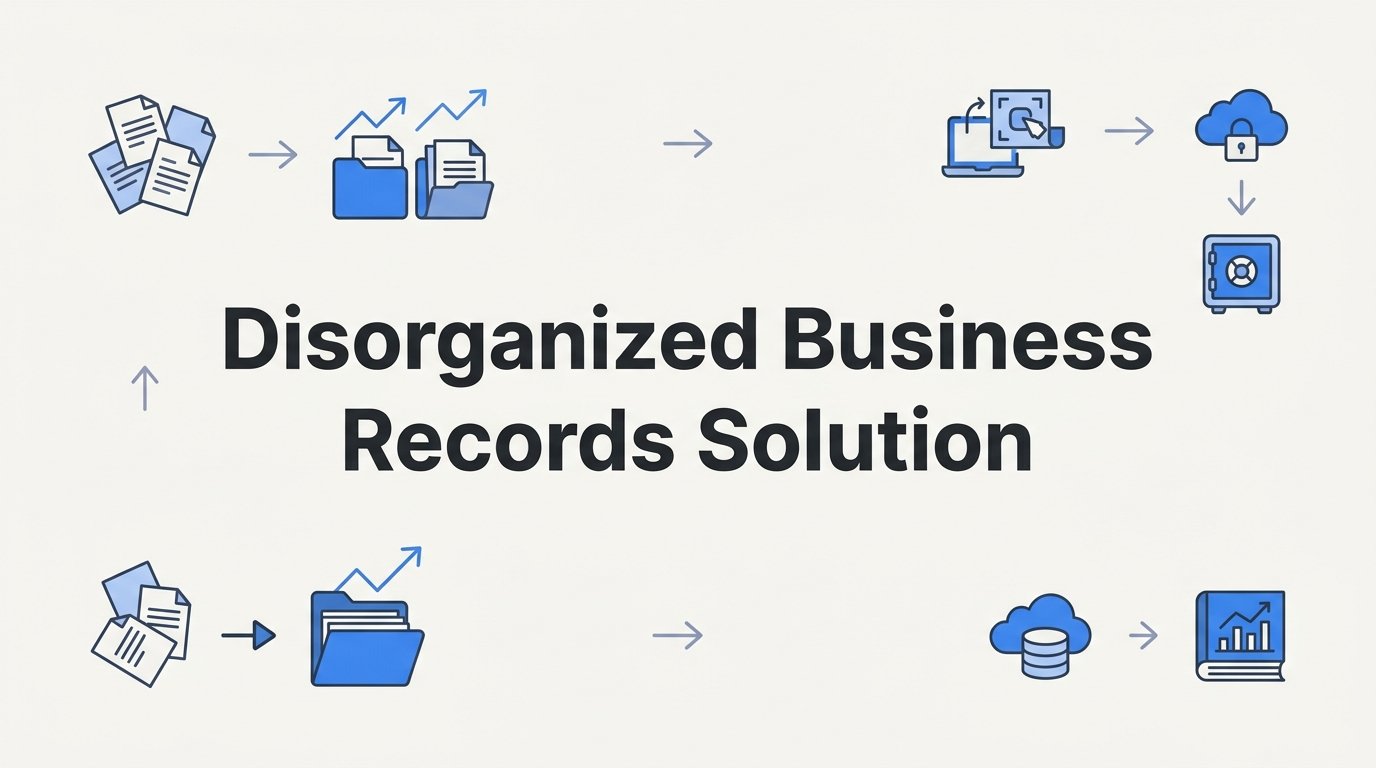
A disorganized business records solution does not need special software or a free month. It needs a sequence: gather, sort, decide what to keep, digitize, store safely, tie records to your books, and maintain the system with small regular habits. By the end of this guide you will have a working setup for sorting, storing, and maintaining your business records, plus a short routine that keeps it from falling apart again.
Before you start, have online access to your bank and card accounts, a scanner or a smartphone, a few uninterrupted hours, and a table or box where you can collect loose paper.
Step 1: Gather Everything Into One Place and Take Stock
Records hide in more places than most owners remember. Pull paper from shoeboxes, desk drawers, filing cabinets, glove compartments, and vehicle consoles, and stack it in one staging area. For digital material, create a single inbox folder on your computer or cloud drive and move in email attachments, downloads folders, old thumb drives, and files scattered across cloud accounts.
Then check the online portals: your bank, credit cards, payroll provider, payment processors, and major vendors. You do not need to download everything yet, but note which ones hold documents you will need.
Once the pile exists, take a rough inventory before touching anything. On a single sheet or spreadsheet, record:
- The types of records you found (receipts, statements, invoices, contracts, tax forms)
- The approximate date range each type covers
- Obvious gaps, such as missing bank statements or months with no receipts at all
Mistake to avoid: sorting while you gather. Stopping to file each item as you find it turns a two-hour collection pass into an all-week project that stalls halfway. Gather first, sort second, as two separate passes.
Tip: download missing statements now. Many banks and card issuers only keep a limited history available online, and the window varies by institution, so check how far back yours goes (as of October 2026, confirm this directly with your bank). If you are missing older statements, request them while you are thinking about it, since some institutions take days to fulfill the request or charge a fee.
Step 2: Separate Business From Personal and Sort Into Core Categories
Start by pulling out anything personal. Set it aside in its own pile and keep going. If business and personal spending run through the same card or account, do not guess which charges belong where. Flag those transactions, with a note or a highlighter on the statement, and take them to your bookkeeper or CPA, who can advise on how to treat them.
Next, sort what remains into a short set of categories. A workable starting list:
- Income and sales (invoices issued, deposit records, sales reports)
- Expenses and receipts
- Bank and credit card statements
- Payroll and contractor records
- Tax filings and correspondence
- Legal and corporate documents
- Contracts and insurance
- Assets and loans
Adjust the names to fit your business, but keep the top level to no more than 8 to 10 categories. Deeper structures feel thorough on day one and get abandoned by week three, because nobody wants to decide between "Office Supplies 2025 Q2" and "Misc Purchases Q2." Use the top-level folders for the category and add only one more layer, the year, in Step 4. If your expense categories need more structure, a business expense categorization guide can help you settle on a consistent set.
You will hit items you cannot place: a receipt with no obvious purpose, a letter you do not understand. Do not scatter these across categories. Create one "Review" pile or folder, and set a deadline for it, such as the end of the week. At that point, decide each item, ask your bookkeeper, or, if it clearly has no value and no legal weight, discard it following the guidance in Step 3.
Step 3: Decide What to Keep and for How Long
A retention schedule is a simple list that states how long you keep each type of record and when it can be destroyed. There is no single period that fits everything. Retention depends on the record type, your jurisdiction, and your situation.
The IRS publishes general guidance in Publication 583 (Starting a Business and Keeping Records) and on its Topic 305 page, Recordkeeping. As of October 2026, the general rule is that you keep records that support items on a return until the period of limitations for that return expires, commonly three years from filing for many returns. Longer periods apply in certain situations, and employment tax records have their own minimum, which the IRS has stated as at least four years. Records tied to property are generally kept until the limitations period runs out for the year you dispose of the property. Verify the current wording on irs.gov before you finalize your schedule, since these rules can change.
State tax agencies, licensing bodies, industry regulators, lenders, and insurers may require longer. Confirm those with a CPA or attorney instead of assuming the federal minimum covers you. Keeping organized records also makes it far easier to prepare for a small business audit if one ever comes.
As a general pattern, plan to keep these long-term or permanently, subject to professional confirmation:
- Corporate formation documents and ownership records
- Filed tax returns
- Records tied to major assets, such as purchase documents and improvements
Do not destroy anything connected to an open audit, dispute, or litigation, even if its normal retention period has passed. For records that are truly expired, dispose of them securely: cross-cut shredding for paper, and secure deletion for digital files, including copies in backups.
Finish this step by writing a one-page retention schedule. List each category from Step 2, the rule for how long to keep it, and the trigger for the clock (for example, "three years after the filing date of the related return"). Have your CPA review it once.
Step 4: Digitize With a Scanning and Naming Routine
You do not need expensive equipment. A sheet-fed scanner is fastest for volume, and a phone scanning app is enough for low volume or receipts on the go. Whichever you use, scan to PDF with OCR (optical character recognition) where available. OCR makes the text inside a scan searchable, so you can find a document by typing a vendor name instead of opening files one by one.
Set a naming convention before you scan the first page. A common pattern is:
YYYY-MM-DD_Vendor_Description_Amount, for example 2026-03-14_OfficeSupplyCo_PrinterPaper_84.50.pdf
Starting with the date means files sort chronologically on their own, and including the vendor and amount makes them easy to match to a bank transaction later.
Mirror the category folders from Step 2 on your drive, with a year subfolder inside each. Retrieval then follows a predictable path: category, year, file.
Scan thermal receipts first. The ink on thermal paper fades, sometimes within months, and a blank receipt is worthless. After scanning, spot-check a few files at full size to confirm they are legible and that multi-page documents captured every page.
Mistake to avoid: assuming a scan means the paper can always go. Some originals carry legal weight, including signed contracts, deeds, and stock or formation documents, and are usually kept even after scanning. Ask your attorney which of your documents fall into that group. The other risk runs the opposite way: scanning a document, shredding it, and then losing the only digital copy. Do not discard any original until the file is saved and backed up, which is the next step.
Step 5: Choose Storage and Set Up Backups and Access Controls
There are three common homes for digital records, and many businesses combine them:
- General cloud storage: flexible and familiar, with folder-level sharing, but it relies on your discipline to keep things organized.
- Accounting software with receipt attachment: keeps the document attached to the transaction it supports, which helps during review, though it usually does not cover contracts or legal files.
- A dedicated document management tool: adds features such as version history, audit trails, and retention settings, usually with more setup and cost.
Features and pricing change often, so compare current plans directly with vendors (as of October 2026) rather than relying on a comparison written months ago. Pick the simplest option that fits your volume. If you are still choosing your accounting platform, this guide on how to set up a business accounting system walks through the decision.
Back up with the 3-2-1 principle
The 3-2-1 rule means three copies of your data, on two different types of media, with one copy offsite. In practice: the working files on your computer, a copy on an external drive, and a copy in cloud storage. If a laptop is stolen, a drive fails, or the office floods, at least one copy survives.
Control who can see what
Not everyone needs access to everything. Restrict payroll, tax, and legal folders to the people who need them, and give edit rights only where necessary. Turn on multi-factor authentication for every account that holds records: cloud storage, accounting software, email, and banking.
Records often contain Social Security numbers, bank account details, and employee information. Use encryption for stored files and backup drives where your tools support it, and keep retained paper in a locked cabinet.
Step 6: Connect Records to Your Bookkeeping and Reconcile
Organized files are not the same as organized books. Bookkeeping records and categorizes your transactions; filing keeps the supporting documents. The two need to match.
Link your bank and credit card feeds to your accounting software so transactions flow in automatically, then attach each receipt or invoice to its transaction. When a transaction has no document, you can see it immediately. If you have ever found you cannot track business expenses properly, this attach-as-you-go habit is usually the fix.
Reconciliation means comparing your accounting records to the bank or card statement and confirming that they agree. Do it monthly for every account. Each mismatch or undocumented charge is a prompt to track down a missing record while the memory is fresh.
Rebuilding gaps from the past
For older periods with missing paperwork, work with what exists:
- Bank and card statements show date, amount, and payee for most transactions.
- Vendor portals and payment processors often let you re-download invoices and receipts.
- Email searches and direct requests to vendors can recover the rest.
Where you have to reconstruct an item, save a short note alongside it explaining what it is, how you rebuilt it, and when. Never fabricate or backdate a document.
If you face several unreconciled months, unfiled returns, or mixed personal and business spending you cannot untangle, bring in a bookkeeper or CPA for the cleanup rather than grinding through it alone. It is usually faster and safer, and they can set up the monthly process for you. Clean records also take much of the stress out of business tax preparation.
Step 7: Build a Weekly and Monthly Habit So It Stays Organized
The system only works if it is maintained. Keep the routines short enough that you will actually do them.
Weekly, about 15 minutes:
- Capture any loose receipts
- File new documents into the right folders
- Clear the inbox folder to zero
Monthly:
- Reconcile every bank and card account
- Review unpaid invoices, both owed to you and by you
- Confirm that your backups actually ran, and open one backed-up file to prove it
Annually: archive the closed year, apply your retention schedule, securely purge what has expired, and update the schedule itself if rules or your business have changed.
Fixing the usual failure points
- Receipts lost in vehicles: photograph the receipt with a scanning app at the moment of purchase, then toss or keep the paper as your schedule says.
- Team members saving files elsewhere: write a one-page filing rule that states where each type of document goes and how to name it, and walk everyone through it once. The same principle applies to disorganized business workflows more broadly.
- Email attachments: set up a dedicated forwarding address or an email rule that sends invoices and receipts straight to your inbox folder.
Step 8: Test the System by Retrieving a Document
Pick one document at random from last year, such as a vendor invoice or a single month's bank statement, and set a timer. If you can find it in under two minutes, the structure works. If you cannot, the failure shows you where to fix it: a vague folder name, a file saved in the wrong place, or a naming rule people skipped.
Retention periods and tax-record questions vary by situation, so review your retention schedule with a CPA or attorney before you shred or purge anything significant.
Schedule a call and discover how we can help your business grow.